Bread. It’s a reminder that life just keeps going regardless of any other insanity.

The yeast was gathered slowly over a month or so. For all the recipes available online, it’s really not too difficult. One good thing to remember is that if you see a million variations then the method must be somewhat insensitive to details. On-line resources cover the basics of “raising a starter.”
The main bits for this 100% hydration starter: * using a mix of flours, * keeping 10%-20% rye, and * adding a touch of organic apple cider vinegar. The first two points add flavor. Rye and wild yeast perform an absolutely erotic dance. The acidic vinegar helps the right yeast take hold.
I didn’t take photos of the yeast process, unfortunately. The good yeast prefers an acidic environment, so the acid from vinegar or fruit juice helps. The first “rise” of the starter likely is false (for me). A different organism takes hold and expands as if it’s yeast, but it won’t help your bread rise. Ignore the first big bubbly mess. Go for the long haul.
For my baby yeasties, I kept the starter above going while I could. When I couldn’t, it dried out. That’s not a huge deal. The powdered yeast you buy in stores is dried out. It comes back to life with food. The hardened portions went into compost, but otherwise I just returned to feeding the yeasties as soon as I returned from my obligations. The mixture survived just fine.
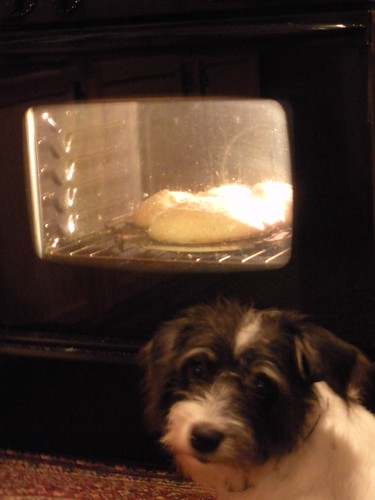
The baking process photos follow a Norwich sourdough recipe, except for Spike. She’s cute. This really is easy. Taking a break every 50 minutes gives your wrists a great rest. The entire process of raising wild yeast involves very little time.
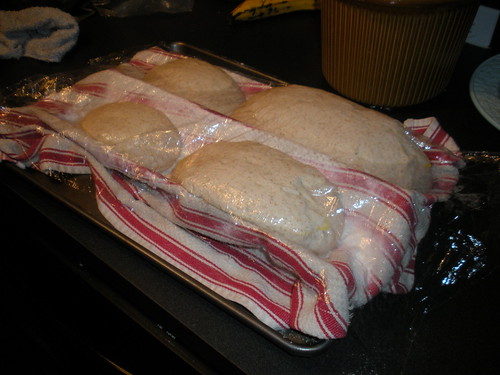

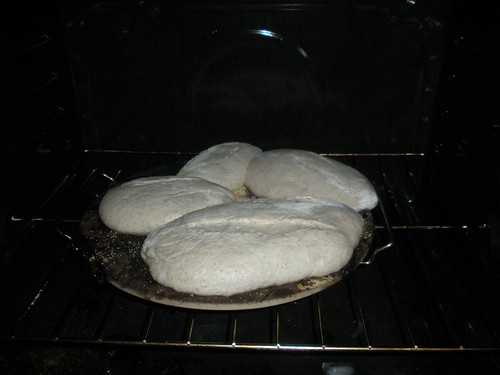
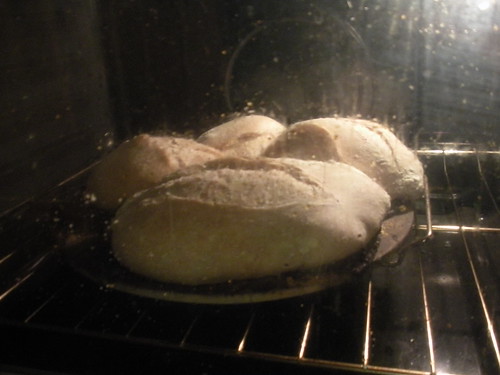

The photos show the general baking process. I was very worried that the bread wouldn’t rise. The four times after my initial try never rose… But this time I tried not to over-think (or over-knead) the bread.
And it tastes good. The rye is a bit much. Next time, I won’t add any rye to the base itself and let the rye in the starter provide its power.